

Every now and then, someone comes up with an idea that makes me think, “Wow, that’s a great concept, why didn’t I think of that?” This was the case a couple of years ago when I was introduced to Jason Pecor from Alorium Technology. In turn, Jason introduced me to their XLR8 (“Accelerate”), which is a drop-in replacement for an Arduino with an interesting twist.
As we see below, the XLR8 has the same physical footprint as a regular Arduino Uno. The difference is that, as opposed to using a regular 8-bit ATmega328P microcontroller from Microchip Technology, the XLR8 features a MAX 10 FPGA from Altera (now Intel). This FPGA has been configured to behave exactly like the Uno’s processor, which is implemented as a soft core, right down to the 32 KB Flash memory and the 2 KB RAM, all running at 16 MHz.
This means that you can take existing Arduino Uno shields and plug them into an XLR8, and you can take existing Arduino Uno sketches (programs) and run them on an XLR8, and everything will behave as though you were actually using an Arduino Uno.
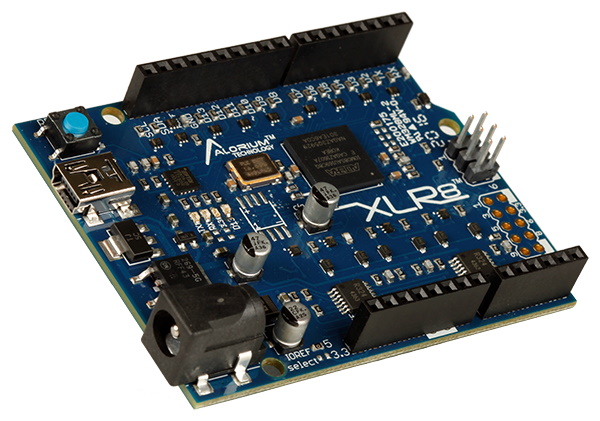
The FPGA-based XLR8 looks and acts like an Arduino Uno
(Image source: Alorium Technology)
Now, at this point, you may well be asking yourself, “What’s the point of this exercise?” After all, as Dirk Gently noted in Dirk Gently’s Holistic Detective Agency by the late, great Douglas Adams: “If it looks like a duck, and quacks like a duck, we have at least to consider the possibility that we have a small aquatic bird of the family Anatidæ on our hands.” (I’ve long wanted to drop this little beauty into a conversation, but I don’t know how to pronounce “Anatidæ.”)
Well, this is where things start to get really clever because those little rascals at Alorium have created a library of accelerator blocks (XBs) that you can use to boost the capabilities and performance of the XLR8.
Let’s start with servos, for example. The standard Arduino Uno uses interrupts to keep track of time. The problem is that servicing these interrupts can result in “twitching” on any servos being controlled by the processor. By comparison, there’s an XB in the XLR8 that can be used to control the servos without any annoying twitching from the interrupts.
Take a look at this video, which really illustrates what I’m talking about. On the left, we have a standard Arduino Uno clone; on the right, we have an XLR8. Both of these boards are controlling servos, each of which has a laser pointer attached. Watching the dots from the lasers projected on a wall really lets you see the jitter caused by the clone and the lack thereof associated with the XLR8.
Now, earlier I said that the XLR8 behaves exactly like the Arduino Uno, so how do we explain this difference? Well, out of the box, if you ran the original servo sketch that was created for the Arduino Uno, the results from the XLR8 would be identical. If we were to look inside this sketch, we would see the following statement:
#include <Servo.h>
This tells the compiler to include the standard servo library. Later, in the program, there will be calls to functions in this library. If we wish to access the XLR8’s servo XB block, all we have to do is change the include statement to the following:
#include <XLR8Servo.h>
All of the function calls in the rest of the program stay exactly the same. I don’t know about you, but I think this is an outrageously clever concept. In fact, I availed myself of this idea recently. I can’t remember if I’ve mentioned this here on EE Journal, but a few months ago I constructed a 12×12 array of ping pong balls, each containing a tricolor LED in the form of a WS2812B (a.k.a. NeoPixel). In this case, I’m using Adafruit’s NeoPixel library, so my sketches include the following statement:
#include <Adafruit_NeoPixel.h>
I’ve been documenting this build as part of a series of articles in Practical Electronics, which is the UK’s premier electronics, computing, and maker magazine. As part of this, I wanted to invite my readers to create their own programs that they could email to me for me to run on the array. The idea was to have a competition for the best application or effect. The problem is that it would be almost impossible to get a program like this to run without actually having an array to run it on.
The solution I came up with was to call Jason at Alorium and tell him what I was trying to do. In turn, Jason explained the position to Bryan Craker, who is a master of the mystic software arts, and — before you could say “Max, could I possibly tempt you with a hot bacon sandwich and a cold beer?” — Bryan and Jason had created and posted a NeoPixel Simulator on Github. Now, as opposed to using Adafruit’s NeoPixel library, we can use the following statement:
#include <NeoPixel_Simulator.h>
Once again, all of the other NeoPixel-related commands in the program stay the same. This “simulator” allows users to create their 12×12 array programs and display the results on the Arduino IDE’s Serial Monitor window. The easiest way to wrap your brain around this is to see it in action as depicted in this video.
But I fear we are in danger of wandering off into the weeds. The next thing the folks at Alorium created was their Snō board, which — once again — features a MAX 10 FPGA. By default, the Snō acts like an Arduino Nano (8-bit data bus, 16 MHz clock, 32 KB Flash, and 2KB RAM). In this case, however, you can increase the clock to 32 MHz if you wish (unofficially, I hear that you can increase it to 64 MHz on a good day). Like the XLR8, you can use Alorium’s library of XBs to dramatically boost the functionality of the Snō.
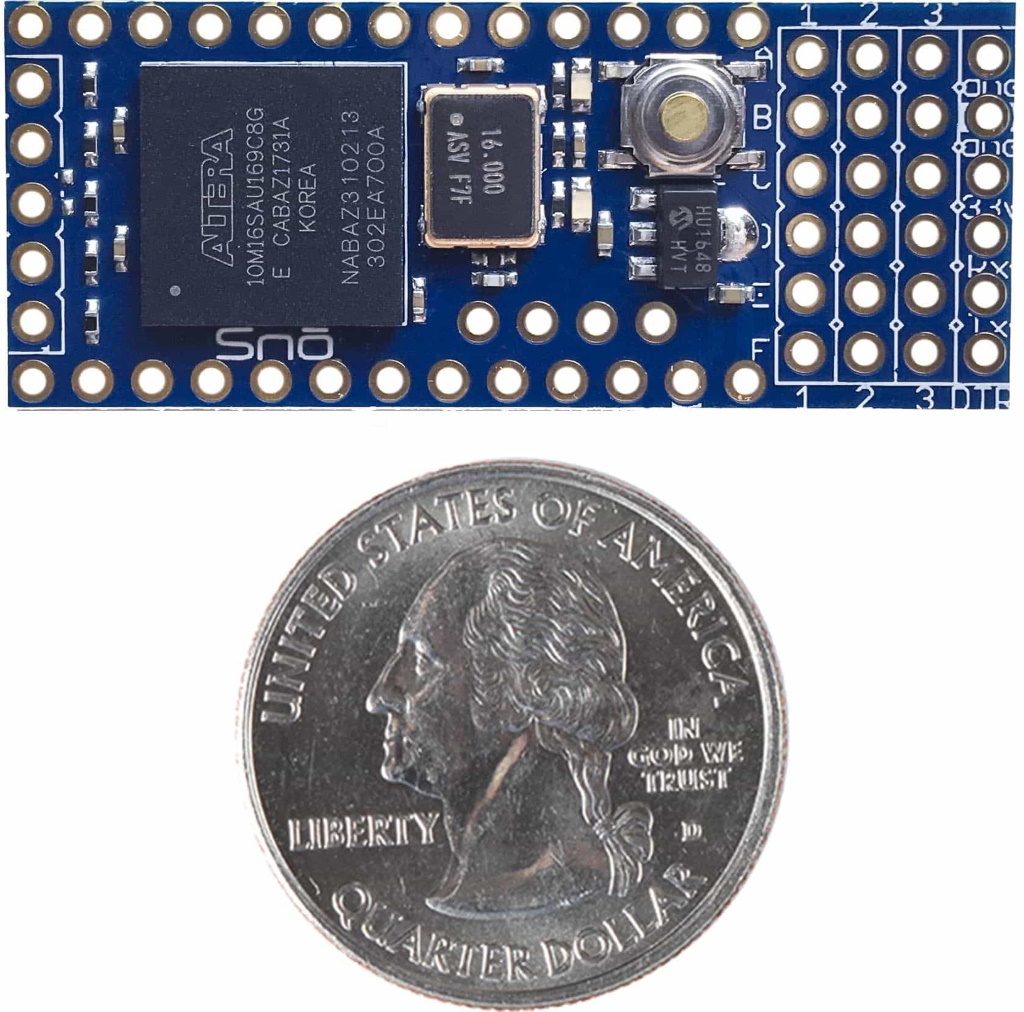
The FPGA-based Snō acts like an Arduino Uno
(Image source: Alorium Technology)
Once again, the folks at Alorium impressed me with their ingenuity because they also came up with the SnōMākr breakout board (BOB). The idea here is that, although designers may wish to embed the Snō in their final products, it’s nice to be able to create prototypes that can easily use the vast collection of regular Arduino Uno shields. The SnōMākr BOB allows the Snō to access all of those shields.
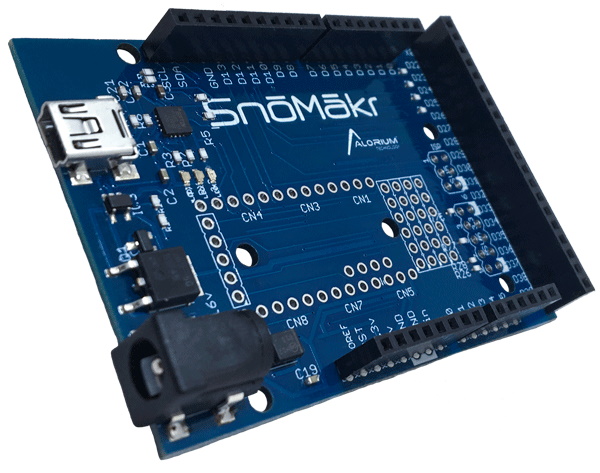
The SnōMākr BOB (The Snō would be attached to the pads in the middle)
(Image source: Alorium Technology)
If you are interested in seeing the Snō in action, take a look at this video showing a single Snō controlling a hexapod robot with 18 servos.
One thing I should mention before we proceed is that — although they are incredibly useful — the XBs provided by Alorium are really there primarily to show what can be done. Alorium also provides a design flow that allows users to create their own XBs to satisfy the unique requirements of their particular projects.
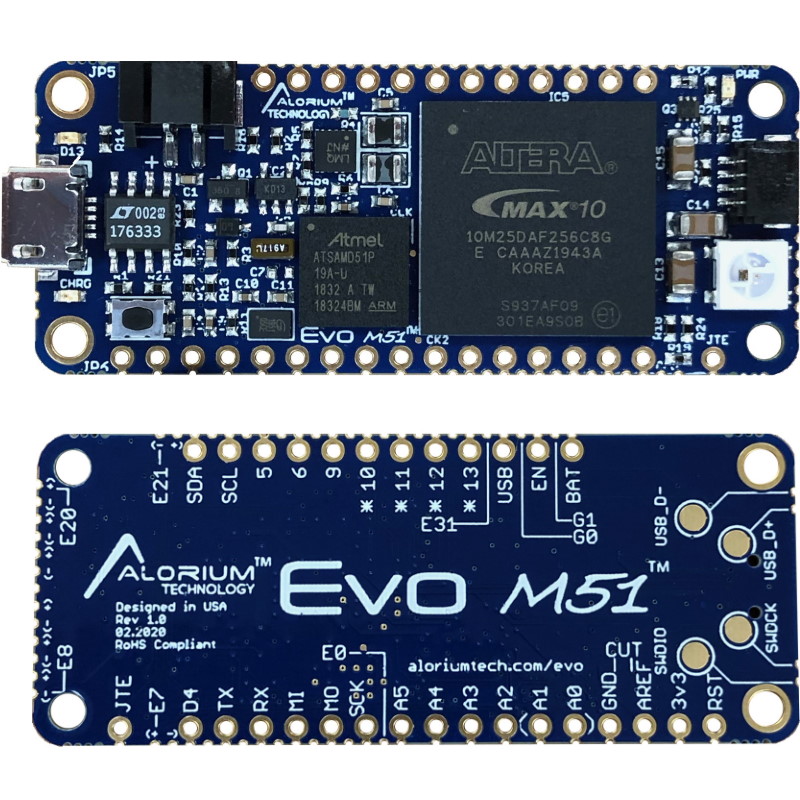
Another product of interest is the Evo M51 module, which is based on the increasingly popular Adafruit Feather form factor and pinout. By pairing a powerful Microchip 32-bit SAMD51 microcontroller with a low-cost, high-featured Intel MAX 10 FPGA, the Evo M51 provides a perfect blend of embedded compute performance and flexibility.
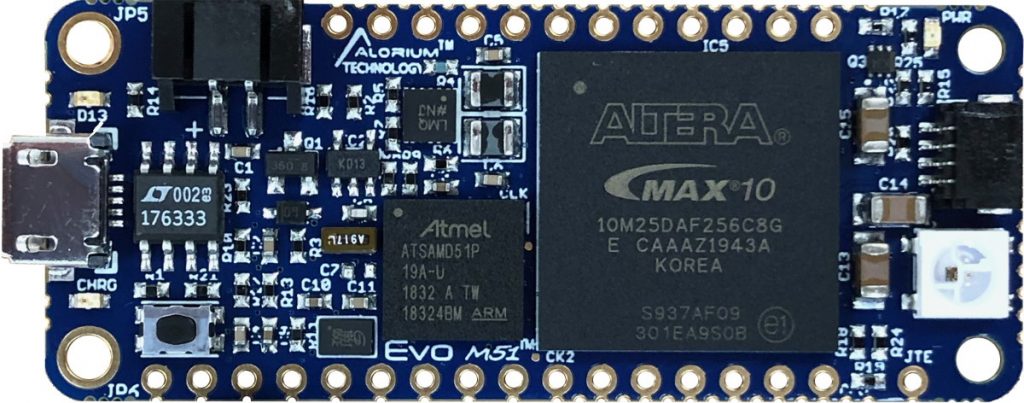
The Evo M51 boasts a 32-bit processor and a MAX 10 FPGA
(Image source: Alorium Technology)
In addition to programming the Evo with the Arduino IDE, you can also program it with CircuitPython, which is something I really want to get into when I have a free moment (“A free moment?” I’m laughing through my tears).
Take another look at the image above. Do you see anything strange? Well, in addition to the 21 main input/output (I/O) pads, right at the edges of the board are corresponding tiny “castellated” pads, and between these are an additional 34 castellated pads.
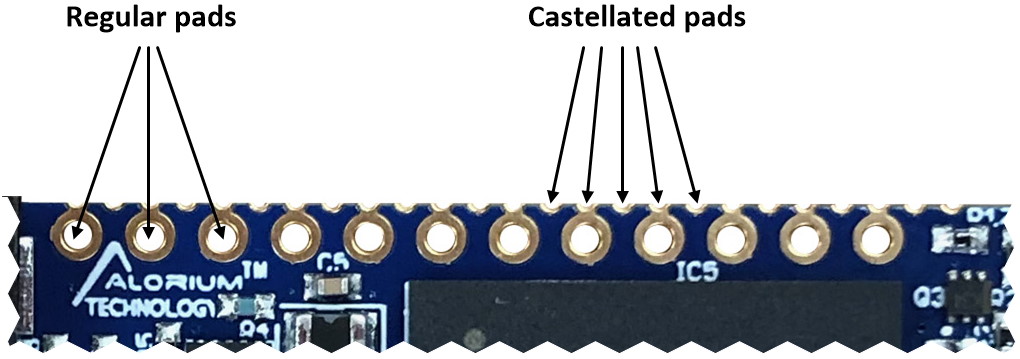
The Evo M51 board features castellated pads that provide access to a cornucopia of I/Os (Image source: Alorium Technology)
To be honest, this was the first time I’ve seen this castellated pad concept. I think this is extremely clever, and I wish the manufacturers of other boards of this ilk would incorporate these castellated pads also.
While I have your attention, another offering that caught my eye was Alorium’s XGZ near-sensor IoT compression module.

The XGZ near-sensor IoT compression module
(Image source: Alorium Technology)
As it says on their website, “XGZ is a plug-and-play solution for adding inline GZIP data compression to wireless IoT end nodes for near-sensor compression and data processing. The idea behind XGZ is to address the challenges of limited throughput and monthly data limits associated with IoT cellular links. Integrating XGZ can result in two key IoT system benefits: Increased cellular IoT data throughput and reduced overall data plan subscription expenses.”
This is such a simple but clever idea. The XGZ uses the popular Digi XBee footprint, thereby making it easy to drop into any application currently using a Digi XBee Cellular LTE-M/NB-IoT modem. Assuming you have an existing XBee stack comprised of a sensor/microcontroller module and an XBee cellular module, all you do is pull these apart and insert the XGZ into the “sandwich” (check out this XGZ write-up on the Digi website for more details).
To be honest, I’ve really only touched on everything on offer by the clever chaps and chapesses at Alorium. If you wish to know more, may I suggest that you bounce over to their website to feast your orbs on all of their products and services. In the meantime, as always, I welcome your comments, questions, and suggestions.


Sorry for the noob question – How exactly do the XBs boost the performance of the XLR8? I don’t get “why” the twitching stops?
Max,
Life is often unfair.
Ten years ago I released the first beta release of ZPUino, a FPGA-based Arduino design. In fact, the public release for the beta was on 6 March 2011, so almost exactly ten years.
It was awesome back then – the only Arduinos on the market were based on AVR8 microcontrollers, and this design was based on a 32-bit processor (albeit not very performant, but often clocked at 96MHz). Everything would work as expected, and you could easily expand the design to include your favourite IO devices. The most popular board was the Gadget Factory Spartan6, with plenty of IOs available, and some SDRAM.
Again, it did get some traction on the begginning, but the advent of ARM arduinos ecplipsed the performance advantage, and few are knowledgeable enough to implement hardware in VHDL or Verilog.
Gadget Factory also produced a board with an Arduino footprint, but never gained traction.
Project is still alive at http://www.alvie.com/zpuino/ , but no recent updates due to lack of interest from the community.
Alvie